Saturday, October 1, 2011

Before Photos, Elbow Grease and a New Creation


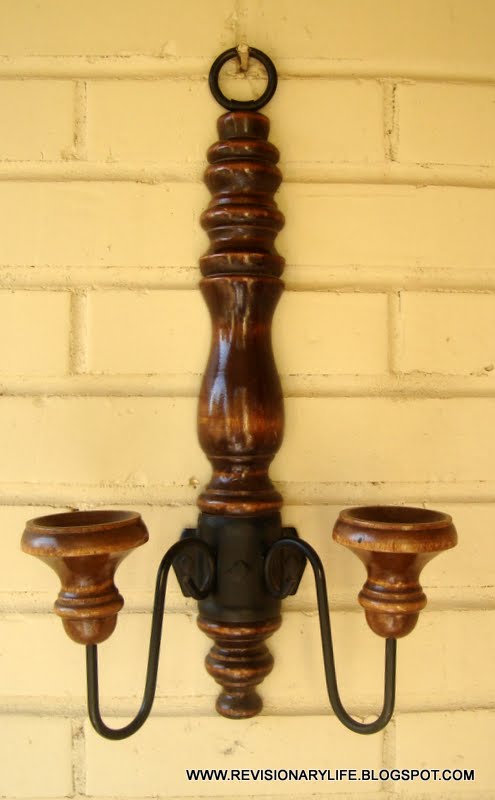
Most of us enjoy "the hunt." Many of us enjoy the process of transforming an object that has been cast off - revising it into a useful, beautiful object that we may use in our home. 


Some of us sell our items to someone with less vision or time and a better manicure.


A lot of us see beauty in patina, flaws, cracks and chips. Some of us painstakingly repair and restore these items, while others celebrate the flaws. Both styles are acceptable - even admirable.


Some of us see a perfectly wonderful or acceptable item, and envision it in a new way. We use our skills and creativity to give it a new life - sometimes one that was not imagined by the maker, not part of the original aesthetic or purpose.


Most of us don't mind buying something needs patching, painting, or mending. We actually enjoy doing the things it takes to make these items precious!


We buy things that are dirty. 


 Because dirty things can be bought dirt cheap!


Sometimes we find things that only need a fresh coat of spray paint, and a little elbow grease to clean them.


This act of revision and recreation helps us create cozy, unique homes for our families. It contributes to our income. It grows our skill sets and our creativity. It encourages others to do the same. It brings us joy, satisfaction, and confidence - more than any perfect manicure could. 


Word for the Day:


2 Corinthians 5:17

Therefore, if anyone is in Christ, the new creation has come: The old has gone, the new is here!


Thank you to those of you who have encouraged me without ever knowing. 


Revi


Linking this with: 

http://funkyjunkinteriors.blogspot.com/  (Saturday Nite Special)

http://junkernewbie.blogspot.com  (Would you Buy it Wednesday)

Wednesday, September 28, 2011

White Washing


I've wanted a mostly-white home for years, never knowing if it would really be possible. It seems sort of self-indulgent, and really, I LOVE color - all colors. Anyway, for whatever reason, I seem to be gravitating toward white now, even though that's not part of my "plan." (At the beginning of the year, I made a list, room by room, of the changes I was ready to begin. None of them except my bedroom were imagined as an all-white space.) Still, here I am with an almost obsessive desire to paint things in various shades of white.


Case in point: the pumpkin above. Once upon a time, these little pumpkins were ultra-bright orange styro things. These were from Dollar Tree. I'd begun looking for real pumpkins in the grocery store last month, but hadn't seen any (Maybe because we're in a drought here?)


A few weekends ago I went to see my daughter and work on her house. We went to several home-improvement stores. At Lowe's, I noticed several mis-tint paints in a variety of grayed-down whites, and they were CHEAP. So, being a cheapskate, I bought them. I used some of the paint to paint some thrift store finds I posted a couple of weeks ago. And as I was painting those, I thought I might try painting the little orange pumpkins a nice deep white. So, I did. I thought they came out pretty well without requiring any kind of glaze or anything. They looked pretty natural.


I wanted more! So I visited a couple of Dollar trees near me, and found two. They must have been from last year's stock, though. There weren't any more to be found. (They do have some pretty cute ceramic ones - so I picked up a couple of those in different whites.)


The stems of the pumpkins were different colors, so I painted them all a deep metallic gold that looked sort of dried stem-like. 


These are Component #1 of a tablescape I'm planning for next week. (Now, my dining room table is decorated with a sewing machine and various thrift store finds.)


For this post, I've displayed them with a few dried gourds. For texture, they're sitting on a vintage lace tablecloth with crocheted edges. 


They're on a cane-back chair I purchased at a garage sale several years ago. I spray painted it and distressed it. I recovered the padded seat with a canvas drop cloth. The cane is broken in a couple of places, but it sort of goes with the distressed finish. It doesn't affect the functionality of the chair, so I left it. We all have our battle scars, don't we?


Word for the Day:


Ezekiel 13:10-11a


10 “‘Because they lead my people astray, saying, “Peace,” when there is no peace, and because, when a flimsy wall is built, they cover it with whitewash, 11 therefore tell those who cover it with whitewash that it is going to fall...


May all your walls be sturdy, and built on a solid foundation!


-Revi

Linking this to:

http://fadedcharmcottage.blogspot.com/   (White Wednesday)
http://shabbynest.blogspot.com/   (Frugal Friday)
http://www.findingfabulousblog.com/  ( Frugalicious Friday)

http://betweennapsontheporch.blogspot.com/   (Metamorphosis Monday)

Monday, September 26, 2011

A Spider Story (A Revised Lamp and an Experimental Drum Shade)


A while back, I mentioned I have been working on making a drum shade. I have learned quite a bit about what NOT to do! But, I finally have a somewhat interesting first-time drum shade of sorts, and some information that might help the rest of you who want to revise or update your lighting. 


Above is the original lamp - a Goodwill purchase with a nice shape, but a dated finish. I'd bought it several weeks ago, and finally decided what to do with it last week. 


I masked it with tape and foil, but later decided the brass harp didn't look right, so I painted it all in Rustoleum's Oil Rubbed Bronze. I LOVE Rustoleum. Rust-o-le-YUMM! It covers so well and you can't beat the cost-to-value-added ratio!


I was going for a "Restoration Hardware meets funky cottage" sort of vibe. 


For the shade, I really wanted to play around with hardware cloth. I went to Lowe's and bought a roll in the 1/4" size, since  the smaller weave worked better for this project. I also bought a pair of tin snips to use in cutting the wire, and a spool of 26 gauge wire for joining purposes.


I had purchased some wooden embroidery hoops intending to use them in my experiment. I decided 10" diameter hoops worked with the base. I painted them to match the lamp.


The major differences in the vintage drum shades and the new ones is scale. The vintage ones tend to be both wider and taller in relationship to the lamp base than the new ones. I like the new dimensions better. The vintage shade that came with a similar lamp was 15" in diameter. To my eye, that's way too top-heavy.


The thing I struggled with the most was getting a sturdy enough hand-made twisted wire "spider" (Yes, in my research, I learned that is a real technical term for the lamp part that attaches the shade to the lamp.) 


I tried twisting multiple strands of wire to make it sturdier, but it was very difficult to get it perfectly centered. Gravity also caused the hand-made center of the "spider" to be higher than the rim of the shade. Not a good look.


I did not succeed in crafting a perfect drum shade before this post, but you get the general idea.  


Now, for the part I learned - not shown in the photos you see here: To make this whole process easier, begin with the right size "spider" from an old shade and a corresponding bottom ring. This will make quick work of it.


Once I "perfect" a shade, I'll do a proper tutorial. I do have a few ideas about other materials to incorporate and use in making drum shades. 


This shade is a taste-specific item, not for every environment. I put a decorative 25 watt candle-type bulb in this lamp. It would be best used in an entry way, a stair landing or some place that needs light but requires no task work. Since the shade is completely transparent, it casts very cool patterns on the wall and ceiling. 


Word for the Day: 


1 John 1:5


This is the message we have heard from him and declare to you: God is light; in him there is no darkness at all.


Until next time, keep shining your light! 
Remember, you are made in HIS image.


-Revi


Linking this week to:


http://modvintagelife.blogspot.com/2011/09/mod-mix-monday-17.html   (Mod Mix Monday)
http://betweennapsontheporch.blogspot.com/2011/09/pottery-barn-bedford-office-renovation.html#more   (Metamorphosis Monday)
http://www.houseinroses.blogspot.com/    (Show Off Your Cottage  Monday)
http://micheleravendesigns.blogspot.com     (Primp Your Stuff Wednesday)
http://primitiveandproper.blogspot.com/   (Piece of Work Wednesday)
http://frenchcountrycottage.blogspot.com/ (Feathered Nest Friday)
http://www.remodelaholic.com/    (Fridays on Remodelaholic)
http://shabbynest.blogspot.com//   (Frugal Friday)
http://www.findingfabulousblog.com/  ( Frugalicious Friday)
http://chiconashoestringdecorating.blogspot.com/  (Flaunt It Friday)
http://funkyjunkinteriors.blogspot.com/ (Saturday Nite Special)